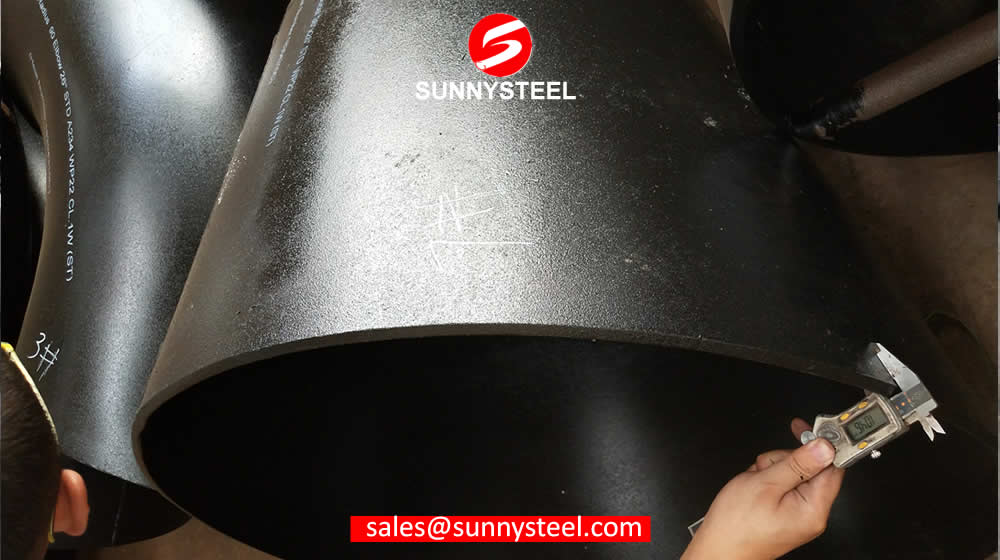
Tolerance For butt Welding Fittings
Butt-welding is the process of joining two pieces of material together along a single edge in a single plane. This process can be used on many types of materials, though metal and thermoplastics are the most common. When two sheets of steel are laid side-by-side and joined together along a single joint, this is an example of butt-welding.
Tolerances are in millimeters. mm
Tolerances are in millimeters. mm
| ASME / ANSI B16.9 | ||||||||||||
| All Fittings | 90, 45 Elbows and Tees | Reducers | Caps | 180?/span> Returns | Angularity Tolerance | |||||||
| Nominal Pipe Size | Outside Diameter at Bevel | Inside Diameter at End | Wall Thickness | Center to End Dimension | Overall Length | Overall Length | Center to Center Dimension | Back to face Dimension | Alignment of Ends | Nominal Pipe Size | off Angle | off Plane |
| (in) | D | t | A.B.C.M | H | E | O | K | U | (in) | Q | P | |
| 1/2to 21/2 | +1.52-0.76 | 0.76 | Not Less Than 87.5% of Nominal Thickness | 1.52 | 1.52 | 3.05 | 6.35 | 6.35 | 0.76 | 1/2 to 4 | 0.76 | 1.51 |
| 3 to 31/2 | 1.52 | 1.52 | 1.52 | 1.52 | 3.05 | 6.35 | 6.35 | 0.75 | 5 to 8 | 1.52 | 3.05 | |
| 4 | 1.52 | 1.52 | 1.52 | 1.52 | 3.05 | 6.35 | 6.36 | 0.76 | 10 to 12 | 2.29 | 4.83 | |
| 5 to 8 | +2.29-1.52 | 1.52 | 1.52 | 1.52 | 6.35 | 6.35 | 6.35 | 0.76 | 14 to 16 | 2.29 | 6.35 | |
| 10 to 18 | +4.06-3.05 | 3.05 | 2.29 | 2.29 | 6.35 | 9.65 | 6.35 | 1.52 | 18 to 24 | 3.05 | 9.65 | |
| 20 to 24 | +6.35-4.83 | 4.83 | 2.29 | 2.29 | 6.35 | 9.65 | 6.35 | 1.52 | 26 to 30 | 4.83 | 9.65 | |
| 26 to 30 | +6.35-4.83 | 4.83 | 3.05 | 4.83 | 9.65 | - | - | - | 32 to 36 | 4.83 | 12.7 | |
| 32 to 36 | +6.35-4.83 | 4.83 | 4.83 | 4.83 | 9.65 | - | - | - | ||||


